Forza Horizon 6 Festival Loop Speed Zone: Location, Star Thresholds, and the Best Tune to Beat It
Pinpointing the Festival Loop Speed Zone If you have been fast‑traveling directly to the Horizon Festival site, you may have missed this zone entirely. It sits on the far south side of the festival...
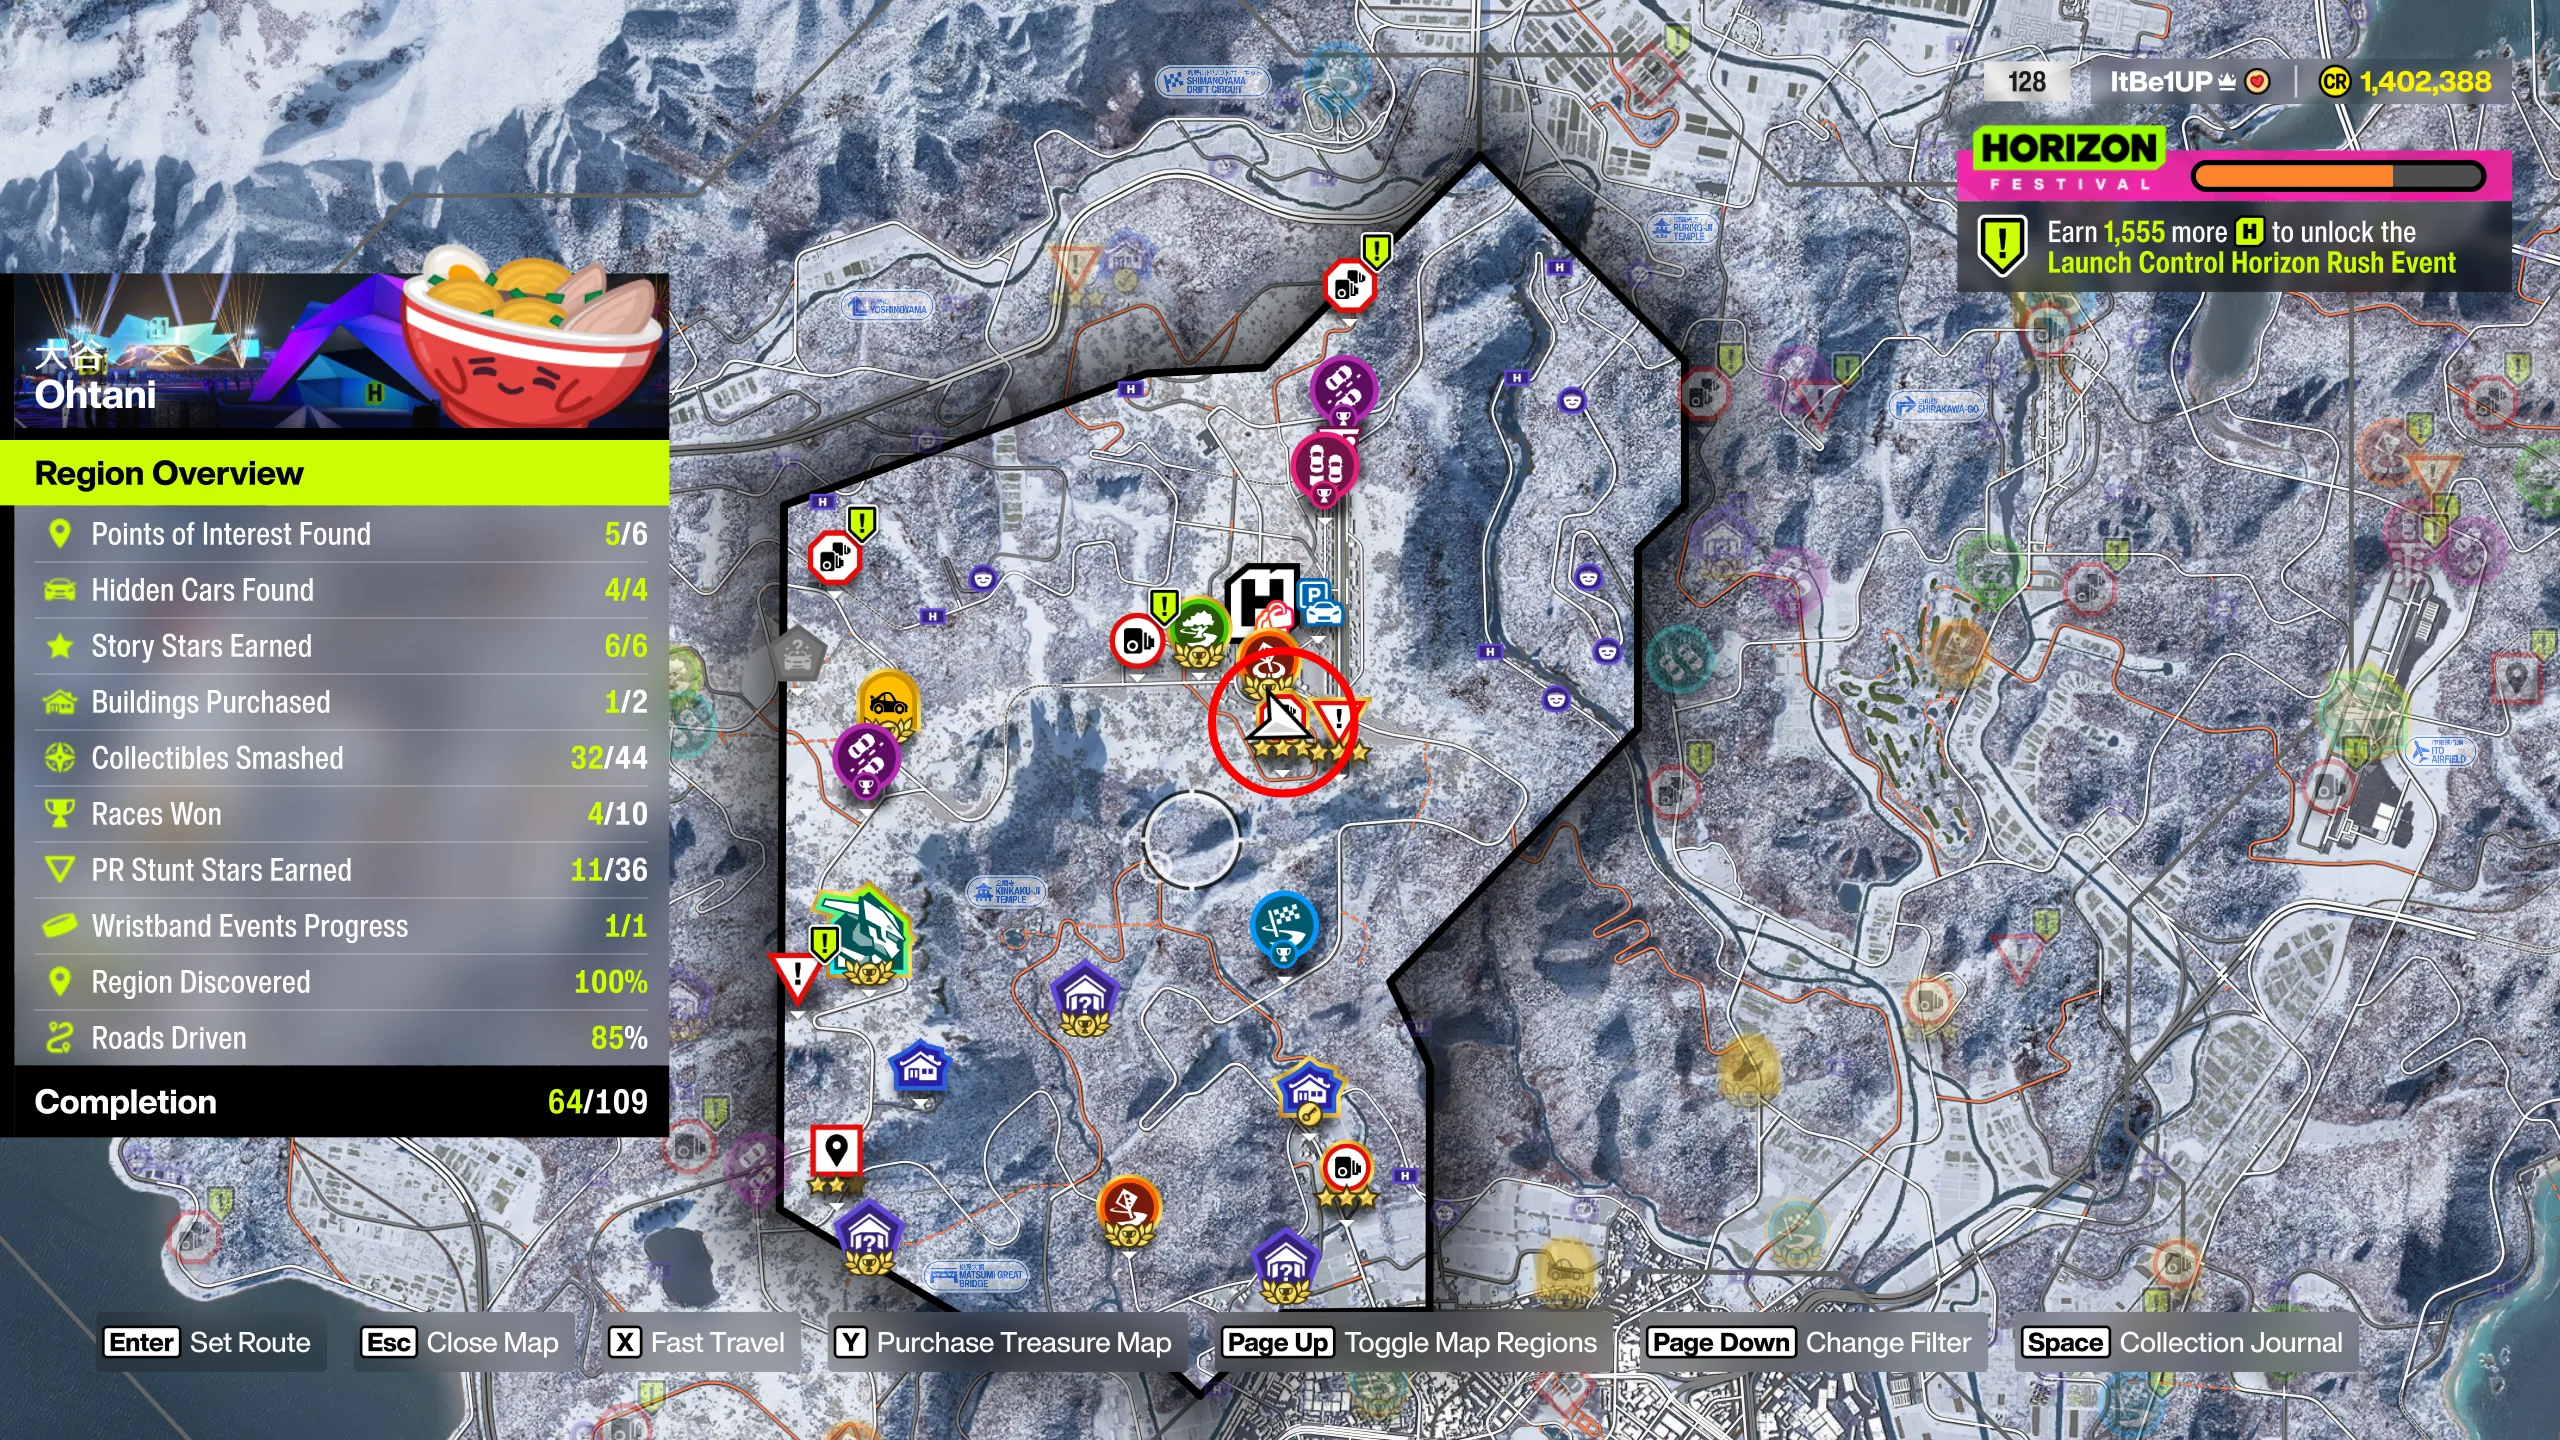
Pinpointing the Festival Loop Speed Zone
If you have been fast‑traveling directly to the Horizon Festival site, you may have missed this zone entirely. It sits on the far south side of the festival grounds, northwest of Tokyo City. On your map, look for a red sign icon with two camera symbols that mark a speed zone. The road itself is a very short dirt and snow stretch with only two turns, running just below a roundabout.
The zone can be entered from either end, which gives you some flexibility in your approach. Before it appears on your map, you must complete the ‘Pier Pressure’ event to earn the Green wristband. Once that is done, the Festival Loop unlocks automatically. It is one of the easier zones to overlook because the festival complex is large, and many players never bother to explore its perimeter on foot or by car. A quick drive around the outer ring of the festival area will reveal it.
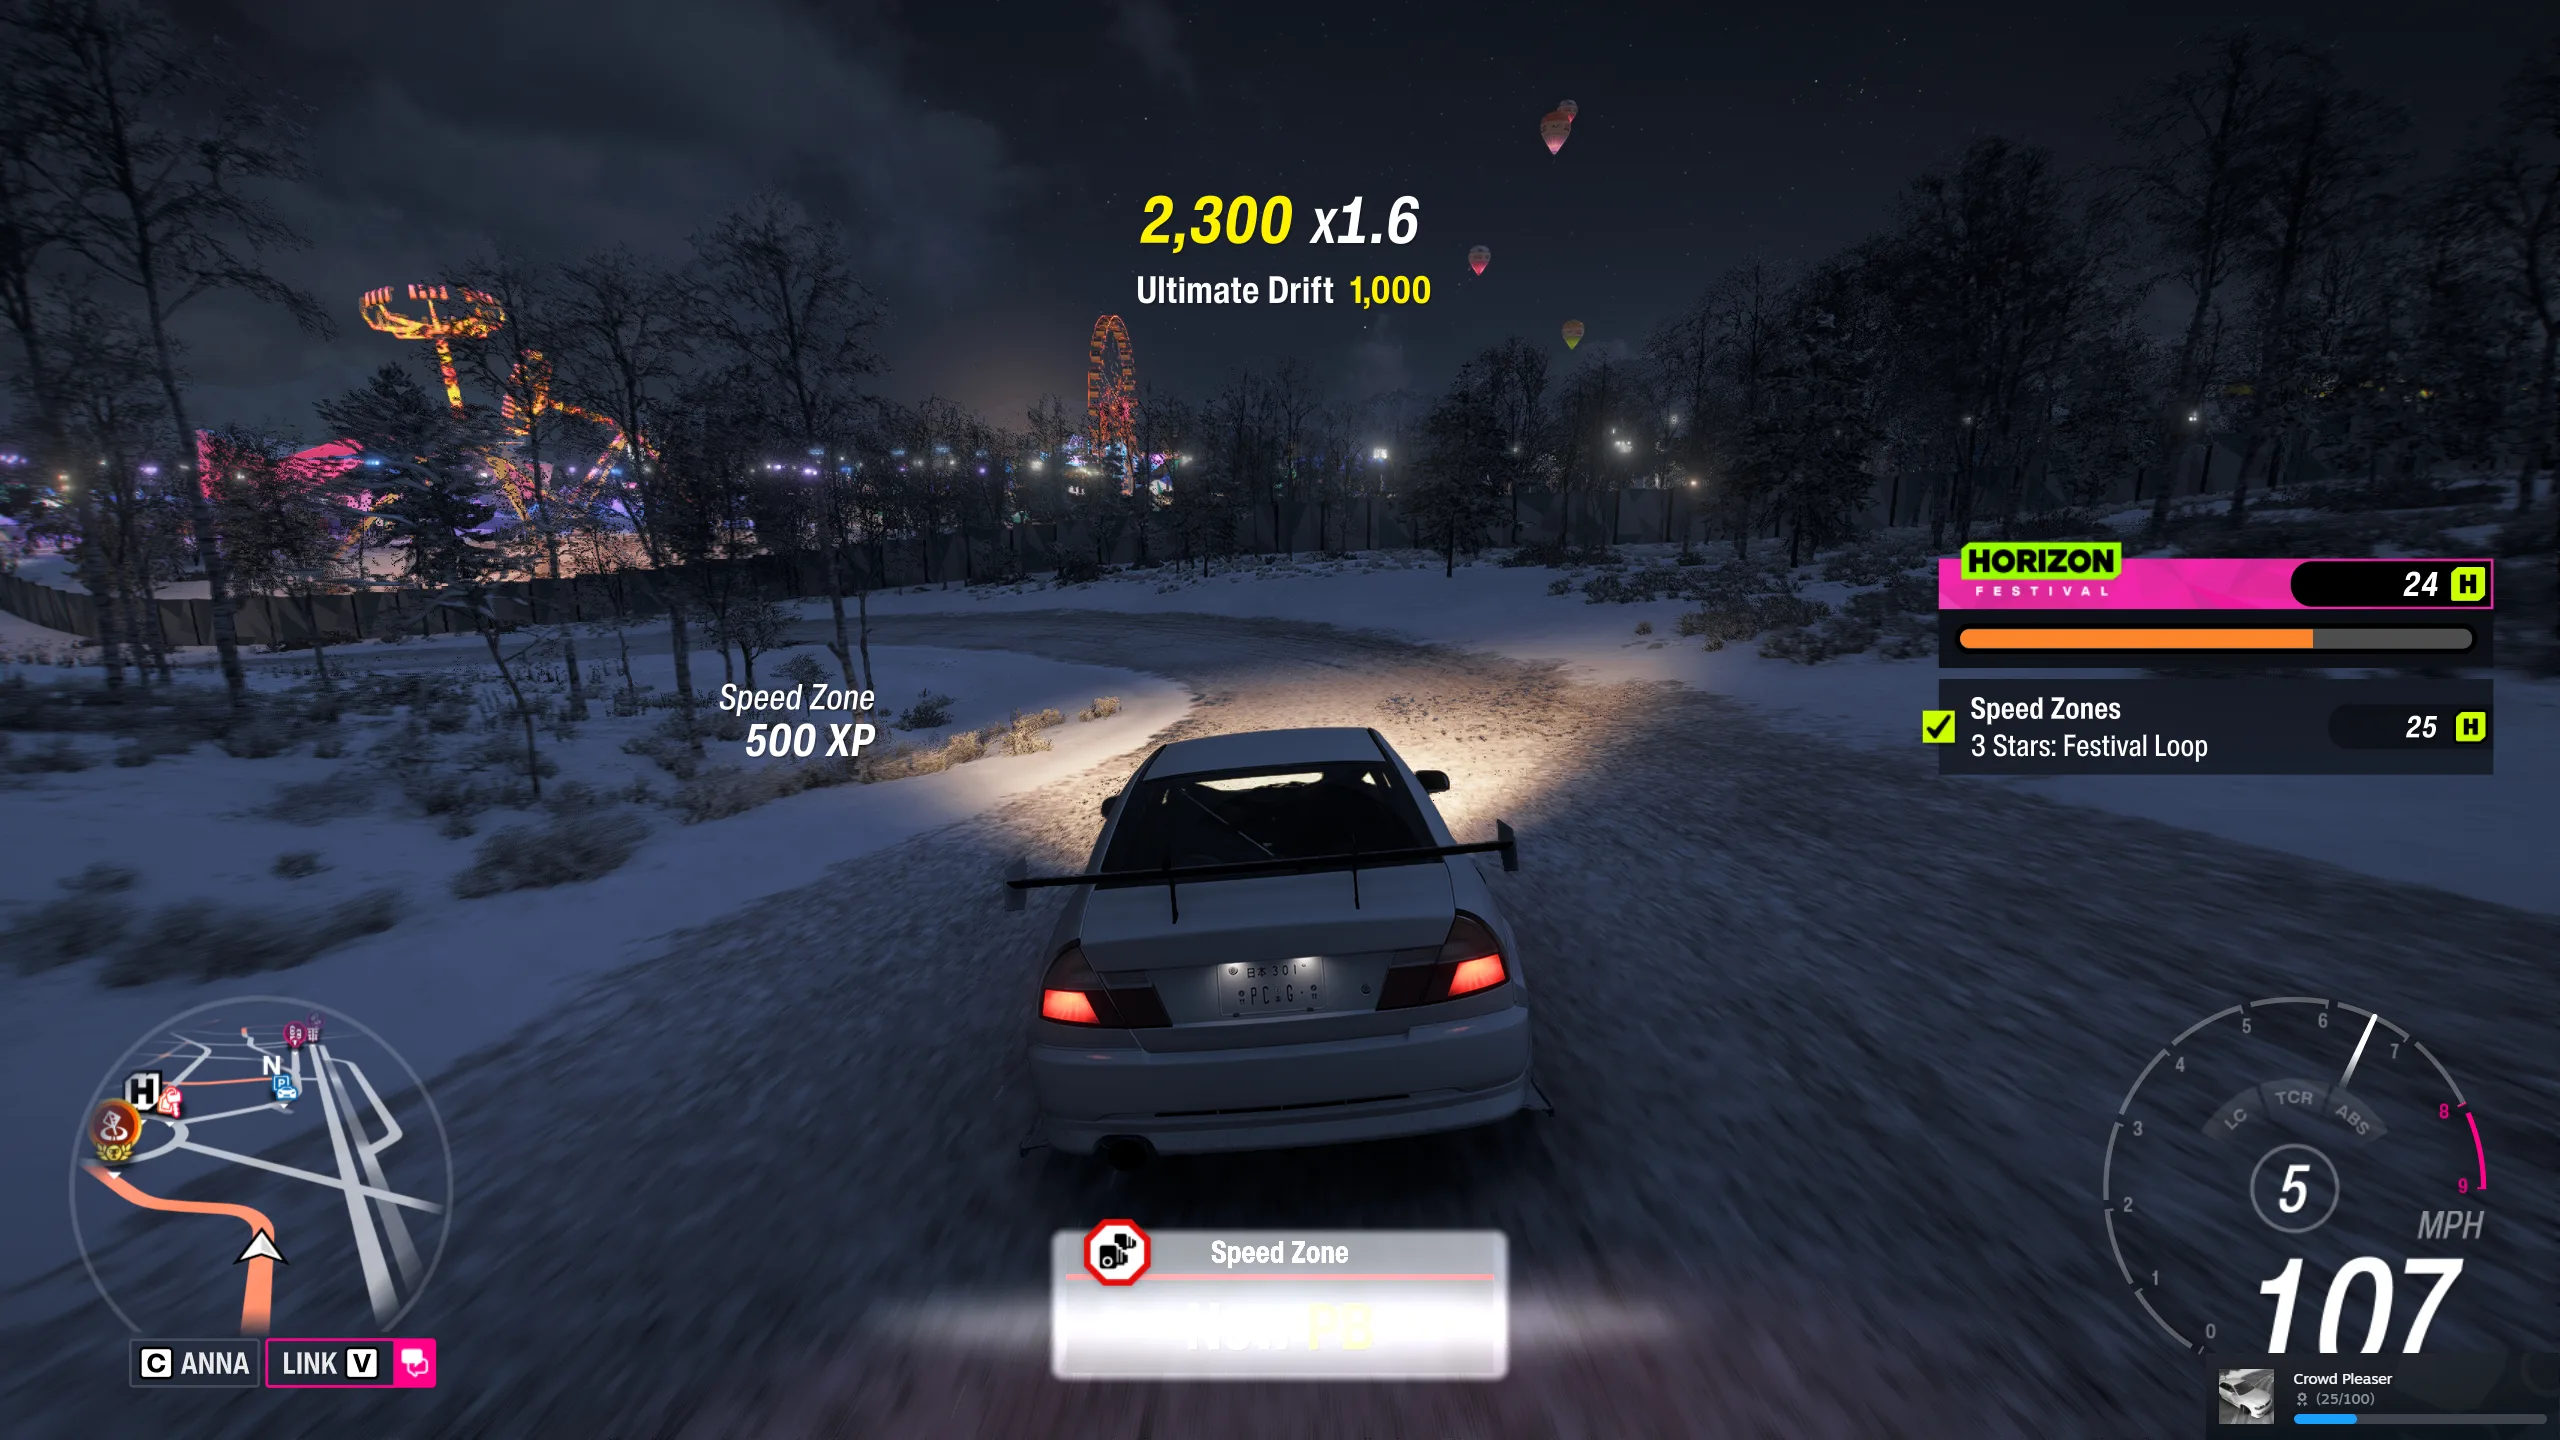
Star Thresholds and the Stock Car’s Shortcomings
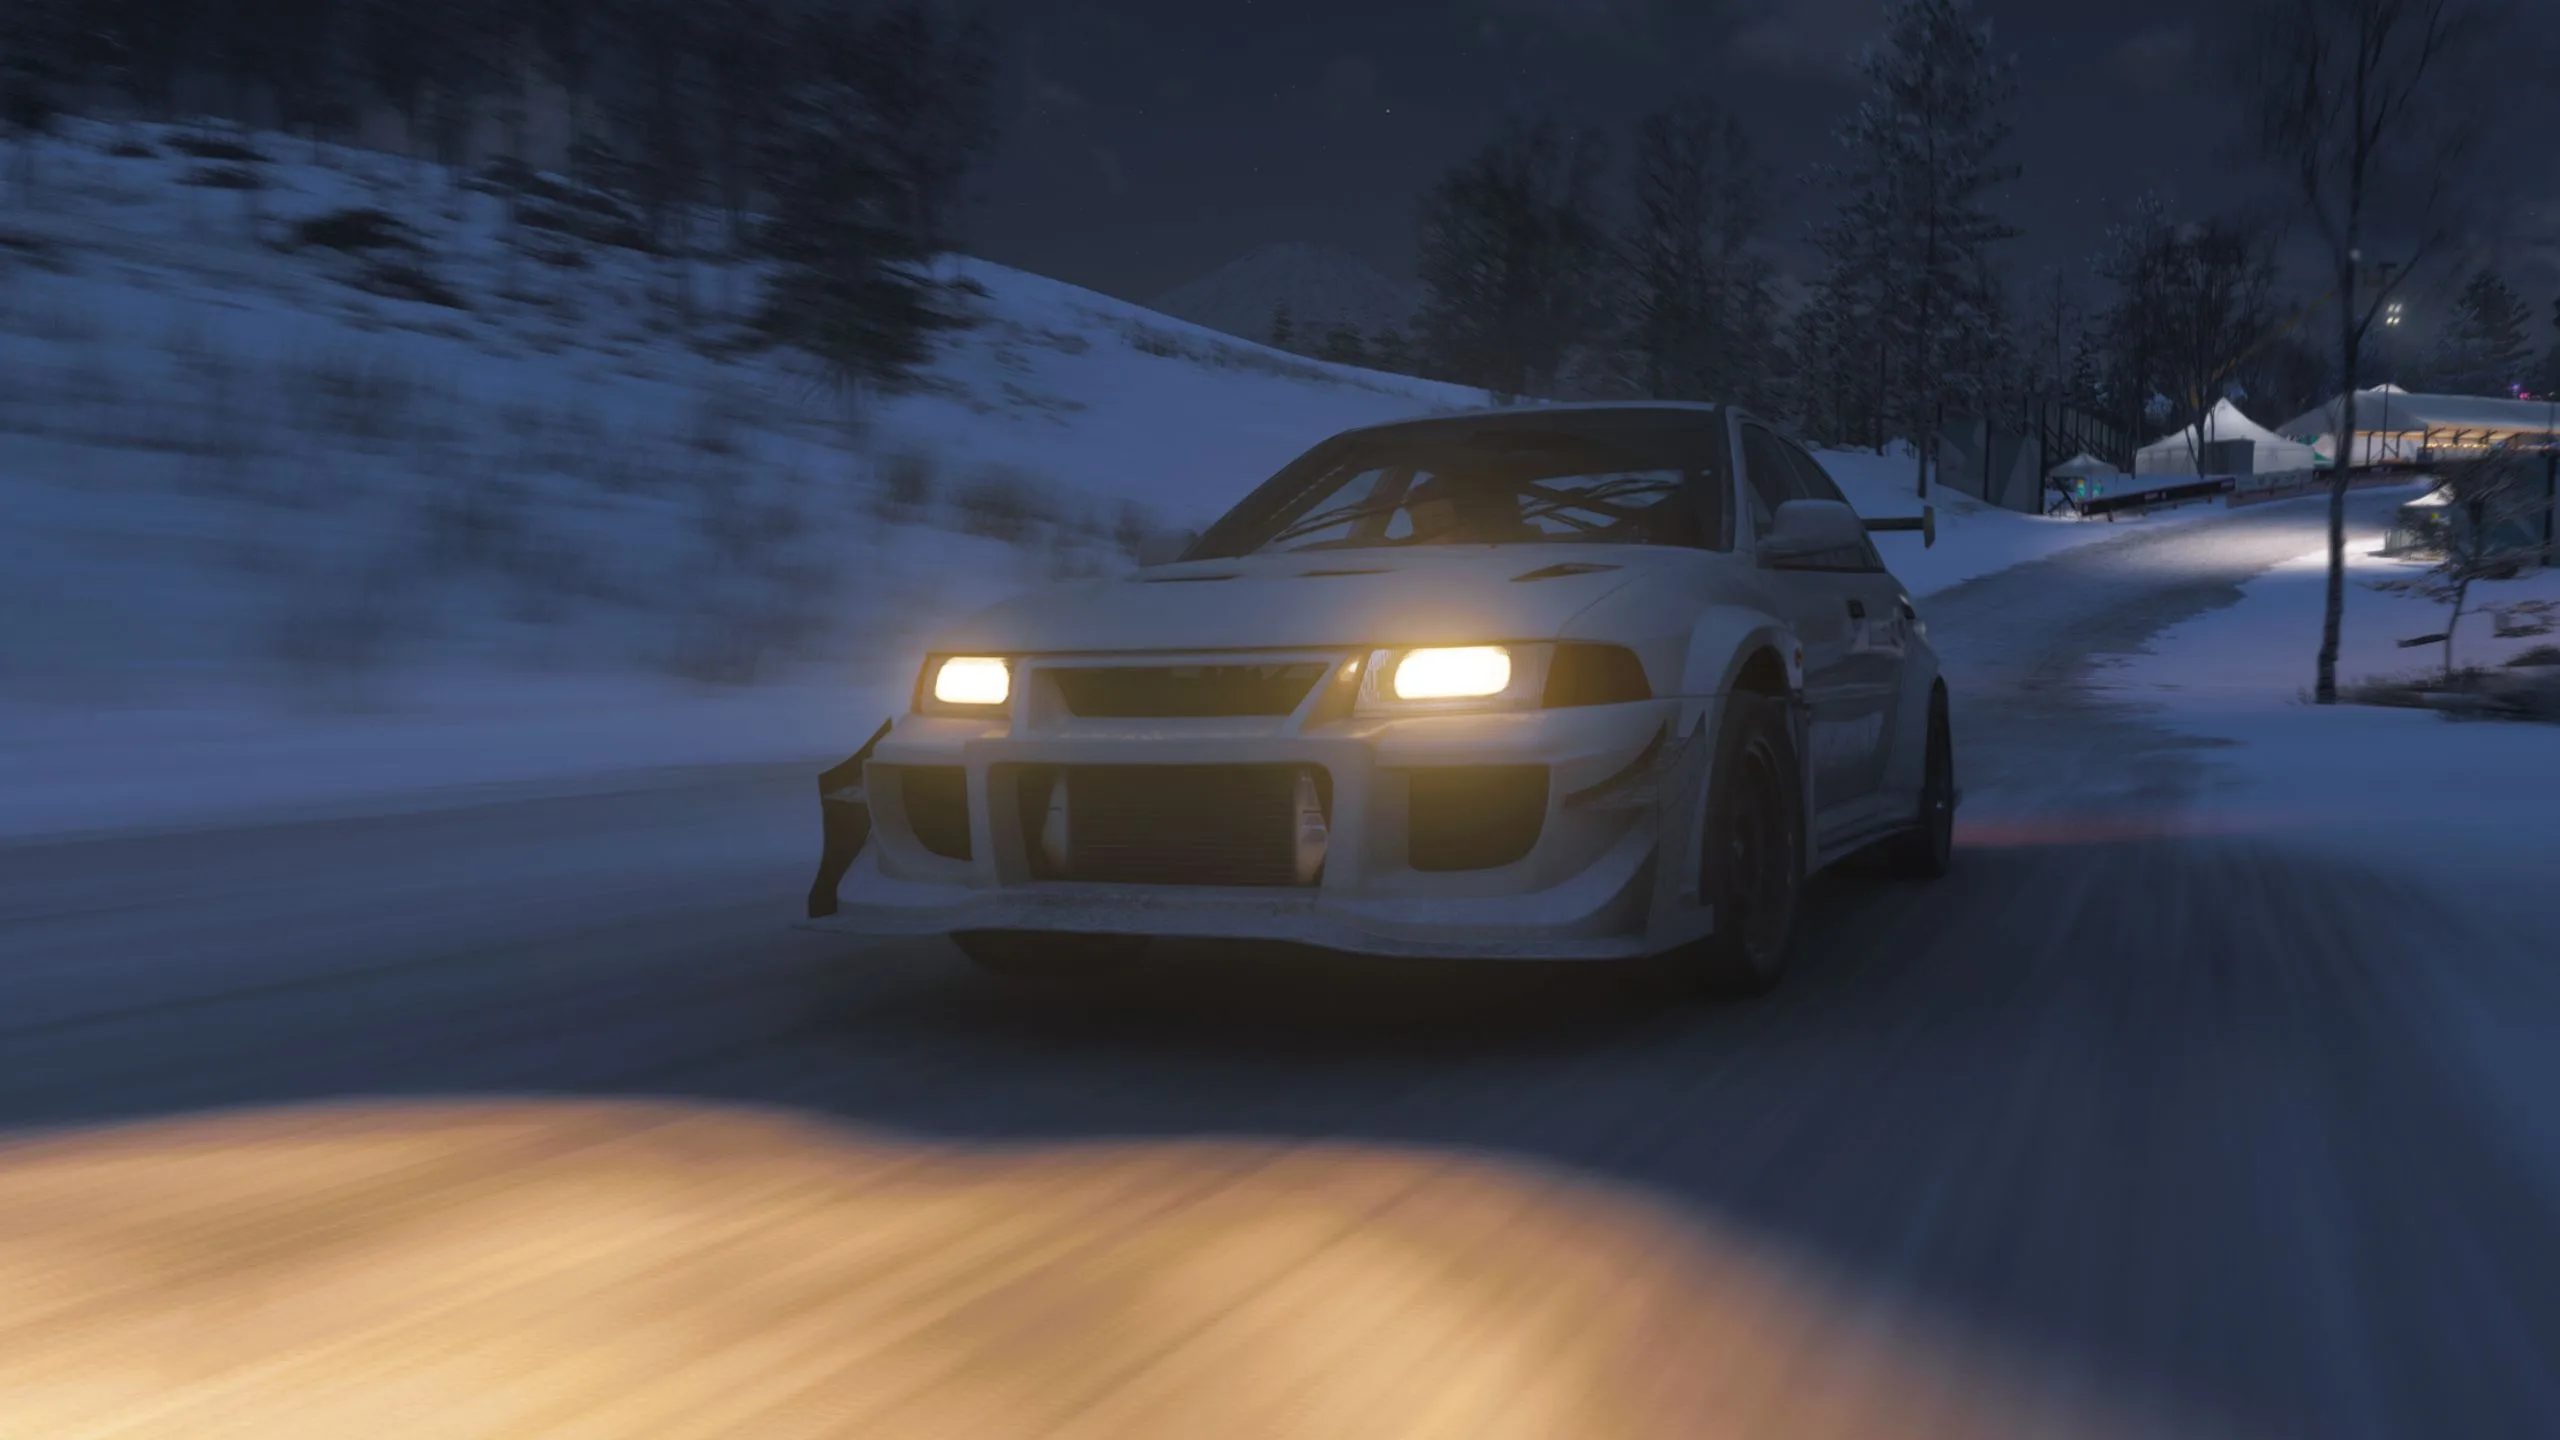
The Festival Loop Speed Zone requires an average speed of 90 mph (144.8 km/h) for three stars. The lower thresholds are 30 mph for one star and 60 mph for two stars. That sounds straightforward until you realize the Mitsubishi Lancer Evolution VI GSR TM Edition, when left in its out‑of‑the‑box B‑class configuration, struggles to even reach 80 mph through the zone. You will need to push it up to at least S1 class to hit the target.
Do not attempt the zone without upgrading. Several community tests confirm that even a clean run with the stock car falls short by several mph.
Upgrade Path and Proven Tuning Codes
The ideal upgrade direction focuses on power and dirt/snow handling. Because the Festival Loop is a short, twisty road, you want acceleration and grip more than top speed. Engine upgrades, off‑road tires, adjustable suspension, and a sport drivetrain are all recommended. Upgrading the Lancer (70,000 credits from the Autoshow if you don’t own it) to S1 class will cost about 55,000 credits in parts, but it’s a one‑time investment for a solid off‑roader. You can either build your own tune or use one of the community‑verified share codes.
The primary tuning share code to use is 129 741 033, created by KapienPL and widely recommended for this specific challenge. This tune emphasizes dirt traction and low‑end torque, making it ideal for the short, snow‑covered zone. If that code does not work for you or you prefer a different feel, an alternative is 128147025 from TheXboxHub team. Both tunes have been tested and verified to clear the 90 mph three‑star target. Apply the tune in your garage before heading to the speed zone. Without it, even a fully upgraded car may struggle to stay above the threshold through the two turns.
Best Approach Strategy
The direction you enter the zone can make a difference, especially on such a short road. Several guides offer different advice. IGN recommends starting from the west side, while TheXboxHub suggests approaching from the right (which, depending on your map orientation, likely means the same direction). Redfreshet advises a northeast entry. The good news is that the zone works from either end, so you are not locked into a single path.
That said, starting from the west side offers a slightly longer run‑up and a more forgiving entry into the first turn. Pull up your map, set a waypoint to the western edge of the zone, and approach at speed. Stay wide on the first turn to carry momentum, accelerate through the second, and avoid braking unless absolutely necessary. Your goal is to keep the average speed above 90 mph for the entire segment. With the upgraded S1 tune, you should have enough power to maintain that even through the slower sections. If you fail, adjust your line and try again. The zone is short enough that each attempt takes only a few seconds.
How the Festival Loop Fits Into the Weekly Challenge
The ‘Theory of Evolution’ challenge consists of four tasks:
- Own and drive the 2001 Mitsubishi Lancer Evolution VI GSR TM Edition.
- Complete three laps at the Sekibe Time Attack.
- Earn three stars at the Festival Loop Speed Zone.
- Win a Dirt Race.
Completing all four tasks awards exclusive Festival Points and a rare reward vehicle. The entire challenge is time‑sensitive, as Series 2 Winter runs from July 2 to July 9, 2026. After that, the ‘Theory of Evolution’ challenge disappears, and the reward car may only be obtainable through the Auction House or future events. That makes it worth the effort to clear the Festival Loop now rather than later.
The speed zone step is often the hardest because of the strict car requirement and the tuning barrier. But with the right upgrades and one of the community tuning codes, you can clear it in a few attempts. The rest of the challenge is straightforward. Once you have the three stars, move on to a Dirt Race event of your choice to finish the set.
Setting Your Sights on Three Stars
Do not let the Festival Loop Speed Zone stall your Festival Playlist progress. Head to the south side of the Horizon Festival grounds, unlock the zone by completing the Pier Pressure event, and invest in upgrading your Mitsubishi Lancer Evolution VI to S1 class. Apply tuning share code 129 741 033 (or 128147025 if needed), start from the west entrance, and maintain momentum through both turns. With the right setup and a clean run, the 90 mph three‑star threshold is well within reach. You’ll be one step closer to finishing the ‘Theory of Evolution’ challenge before the July 9 deadline, and you’ll unlock an exclusive vehicle that may not return for months, if ever. Don’t let it slip away.